Awhile back I posted a blog about a few different ukulele straps that you can buy. I really like the design and idea behind the Uke Leash. Well, I was thinking about that one day and realized that it is very possible to make your own diy uke leash out of a couple materials that you probably already have lying around the house. I still like the Uke Leash better, but if you're in a pinch or just don't have the cash right now to buy one, here's what you can do...

The Ukulele Site

Showing posts with label how to. Show all posts
Showing posts with label how to. Show all posts
Tuesday, April 9, 2013


Tuesday, April 2, 2013
Ukulele repair: top separating from sides

Now that our spool clamps are ready to go, we can put 'em to the test and get down to fixing this little guy up.
Monday, April 1, 2013
Ukulele repair tools: diy spool clamps
The day that I walked into a local antique store/flea market and spotted a beautiful Favilla soprano ukulele is one that I will always be grateful for. At the time, I didn't know anything about the Favilla company. I looked at the price tag ($95) and went home and immediately jumped on the Ukulele Underground forum. If you are ever wondering about any type of vintage uke, chances are that one of the nice folks on that forum will be able to provide information. Of course, a few people pointed me towards some info about Favilla's and encouraged me to go grab it. As it turns out, these little guys are worth at least twice that amount and are rising in price as more people realize how awesome they are. As one UU member put it, "Go get it! Run, don't walk". I immediately hopped back in the car and raced to pick it up. It was worth every penny. This little guy has some battle scars (general wear and tear), but he still plays like a champion. It's become my "go to" ukulele.
 Well, one day horror struck! I picked up my Favilla (aka - Flava Fav...yep, I give my ukes ridiculous names) and noticed that the top had begun separating from the sides!
Thursday, March 28, 2013
How to pronounce "ukulele"
So...I started to try to pronounce it "correctly". To be quite honest, I felt completely ridiculous saying it the right way. On top of that, if I go to a local music store to ask for "oo-koo-lay-lay" strings, I tend to get a strange look coupled with a reply of, "Do you mean yoo-ka-lay-lee strings?". So I gave up trying the right way and just settled for the pronunciation that I've always known and heard around here.
Wednesday, March 20, 2013
How to Make a Ukulele Wall Hanger
Awhile back I posted a blog called "Make your own ukulele wall hanger". In that post I linked up to a Ukulele Underground article and video showing you how to make a multi uke wall hanger.
Well, I decided to put that into action and make one myself using the same formula, but with a few variations. Here's how I did it.

- (2) 4 ft. long 1x4 boards
- (2) #8 1 1/2" wood screws
- (3) #10 2 1/2" wood screws
- (4) plastic coated U shaped tool hangers
Total cost = $10.72
For those of you searching the hardware store for these materials, let me just give a couple tips so you don't waste a bunch of time (like I did). First of all, look for the tool hangers in the storage area of the hardware store. Odds are that they are probably there. I spent an
Well, I decided to put that into action and make one myself using the same formula, but with a few variations. Here's how I did it.
Materials
- (2) 4 ft. long 1x4 boards
- (2) #8 1 1/2" wood screws
- (3) #10 2 1/2" wood screws
- (4) plastic coated U shaped tool hangers
Total cost = $10.72
For those of you searching the hardware store for these materials, let me just give a couple tips so you don't waste a bunch of time (like I did). First of all, look for the tool hangers in the storage area of the hardware store. Odds are that they are probably there. I spent an
Tuesday, March 19, 2013
Homemade Resonator Ukulele w/ instructions
Well, I got bored one day and after watching a couple Youtube videos of people playing their own homemade resonator ukuleles, I decided to take my old laminate Harmony ukulele and try this idea out. This old Harmony uke isn't worth much, so it's become my experiment ukulele...you might have seen this same ukulele show up in some other posts like this one, or this post, or even this post!
Basically, this uke has been through a lot and I am grateful to it for putting up with me.
Anyway, here's what I did to turn it into a resonator ukulele of sorts, complete with a video below of what it sounds like. In retrospect, I wish I would have found a larger resonator. While the sound does have that
Basically, this uke has been through a lot and I am grateful to it for putting up with me.
Anyway, here's what I did to turn it into a resonator ukulele of sorts, complete with a video below of what it sounds like. In retrospect, I wish I would have found a larger resonator. While the sound does have that
Tuesday, March 5, 2013
How to make a ukulele hard case
Some ukuleles just don't come with a hard case....and some hard cases are just too expensive. For those of you that are handy with tools, here are a couple of options to make your own ukulele hard case that I've stumbled across.
 A very nice DIY case made out of some 6mm thick plywood. Check out the blog post here for more pictures and plans.

Tuesday, February 19, 2013
How to Package and Ship a Ukulele
Tuesday, February 5, 2013
Make your own ukulele wall hanger
Tired of tripping over all the ukuleles strewn about your living room floor? You and me both! Here's an awesome idea from the fine folks at Ukulele Underground for making your own multi uke wall hanger. It just requires some very basic tools and a few dollars. Check out the one that I made in this post, complete with some instructions.
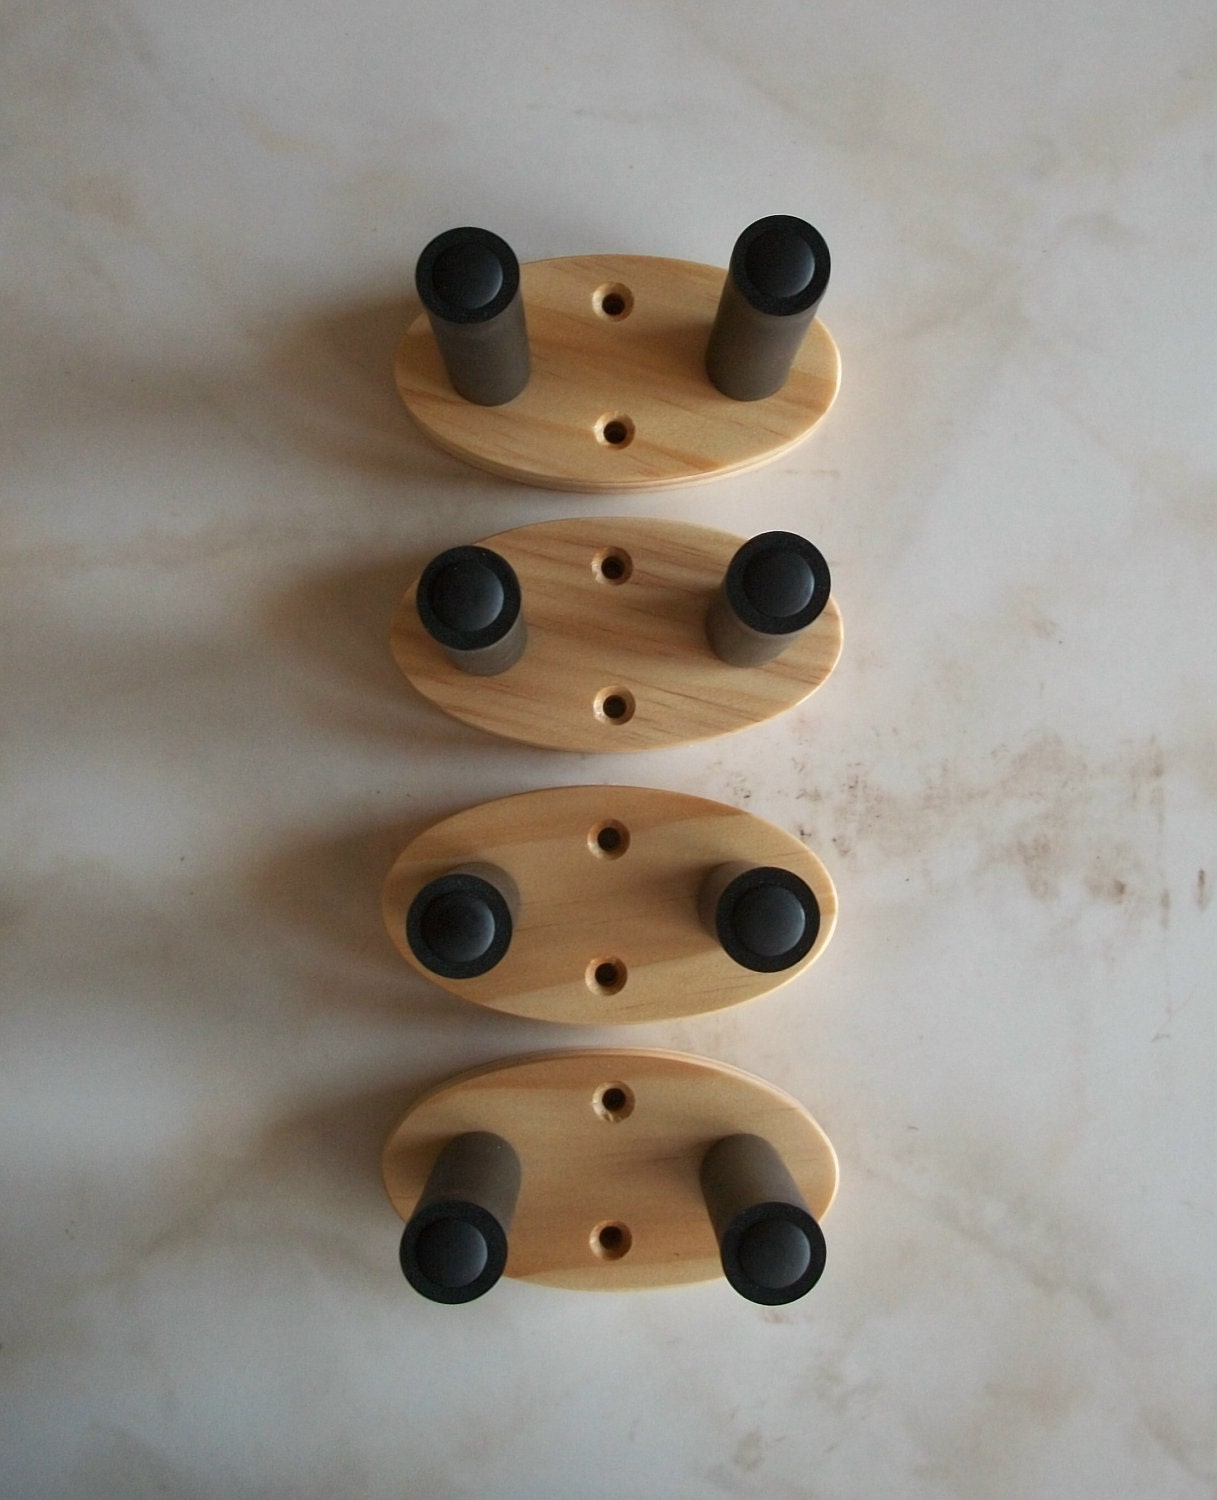
If you're not very confident in your wood working skills and would rather pass on this project, there are some really cool wall hangers out there. Like this....

If you're not very confident in your wood working skills and would rather pass on this project, there are some really cool wall hangers out there. Like this....
Sunday, January 13, 2013
How to "setup" your ukulele
Whether you are new to the ukulele or you're an experienced player, a bad setup (or no setup at all) can often times be the difference between playing beautiful music and auditory pain for both the player and those listening.
In my own experience, I have learned that there isn't a cookie cutter approach to a good setup. Believe me, I wish it were that simple! But because every ukulele is different, the setup of each one will be a bit
In my own experience, I have learned that there isn't a cookie cutter approach to a good setup. Believe me, I wish it were that simple! But because every ukulele is different, the setup of each one will be a bit
Monday, September 17, 2012
Vintage Harmony ukulele: replacing a broken bridge

This is sort of a good news/bad news post. The good news is that the
original tuning machines on this Harmony uke didn't need to be replaced as
I originally thought. They just needed a little tightening up. The bad
news is that when I went to string this sucker up, I heard a brief
cracking sound and then a very loud SNAP! The front part of the bridge
must have had a crack that I couldn't see and it gave way under the
tension of the strings pressing down and ever so slightly forward on the
saddle. But I guess it's not all that bad...at least now I get to show
you
Friday, September 14, 2012
Vintage Harmony Ukulele: replacing the nut
 |
| need to do some sanding to get this old glue off |
 |
| There we go! Sanded, cleaned up, and ready for a new nut. |
As you can see in the first picture, there is still a bit of dry glue where the previous nut was sitting. This needs to be sanded off before installing the
Tuesday, August 28, 2012
Vintage Harmony Ukulele: replacing the saddle
 |
| with the old saddle removed |
 |
| Sliding in the new saddle |
 |
| Just a little bit more.... |
 |
| Hurray |
I'm happy to have found this uke in a local antique store for $20...but I also don't want to sink a ton
Subscribe to:
Posts (Atom)